


DIY Umbrella/Flash Bracket
I bought a couple of cheap flash stands so I needed some flash/umbrella brackets for them. I didn"t want to go for the cheap plastic ones and I wanted them to be metal. Neither I wanted to pay more for the metallic ones that would cost more than the flash stands so I went and bought suitable aluminum material and did a couple of them myself. Ofcourse some time went to making these, but it was fun and the outcome is rather nice.
Below is a plan made with Google SketchUp.
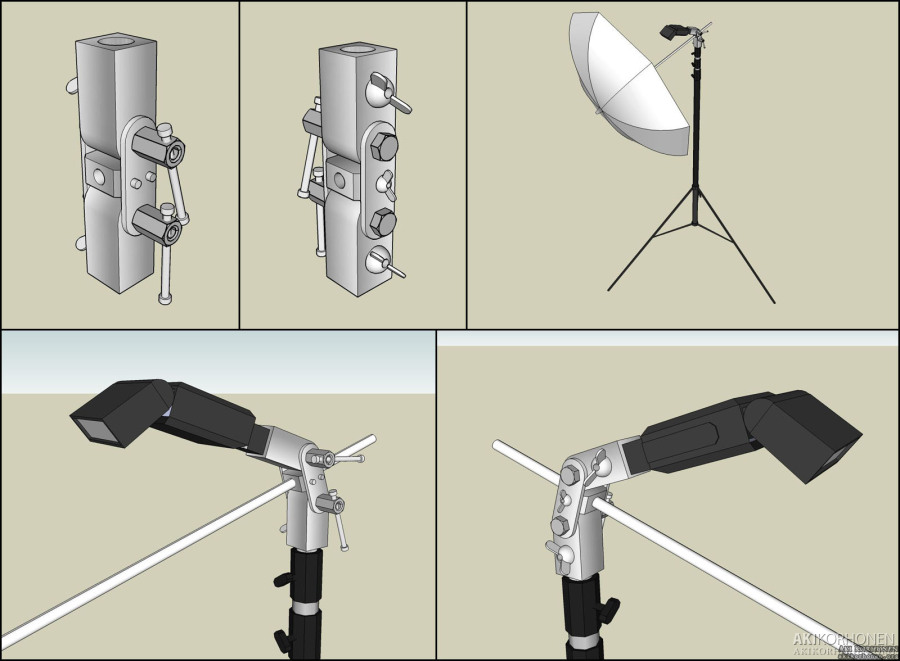
umbrella_flash_holder_20081103_1600px.jpg
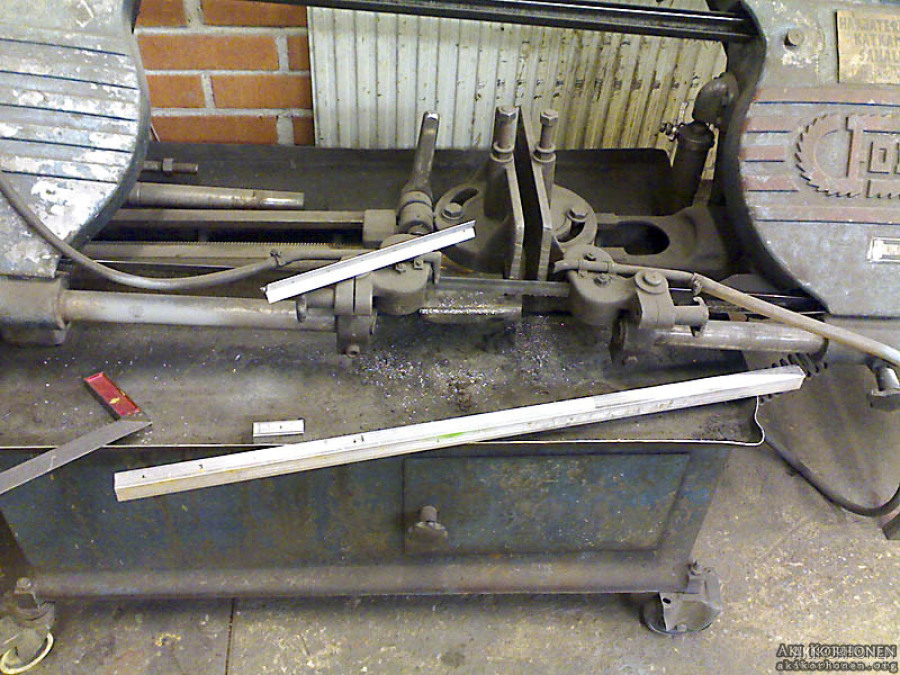
The raw aluminum material being cut. I used 25mm*25mm (~1"x1") square aluminum rod for the main parts, 20mm*3mm flat aluminum for the small parts seen in the plan and 16mm (~5/8") round aluminum rod for the studs seen later. On the second picture all the big parts are cut and 16mm holes for the studs are drilled.
m_01112008422.jpg

m_01112008423.jpg
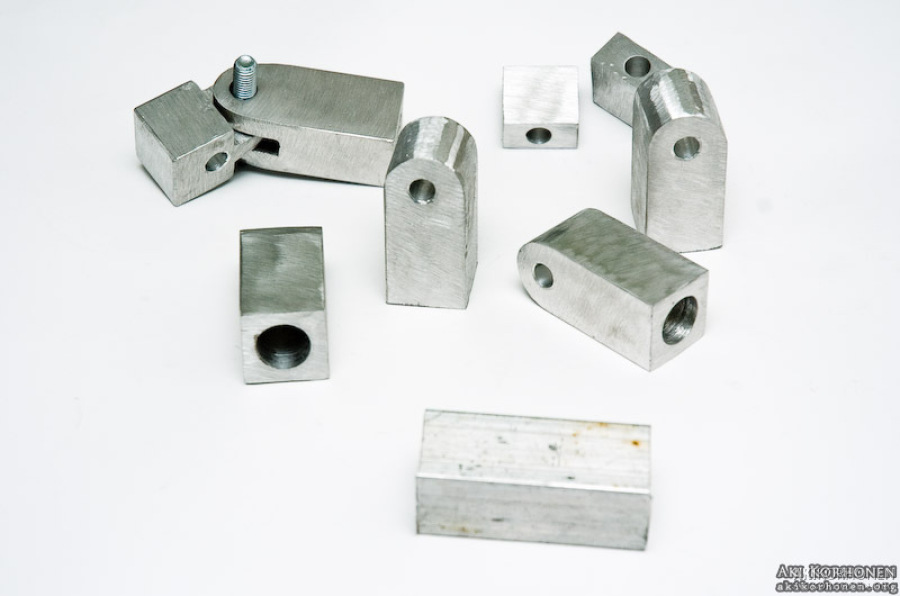
Some random photos during the build. The big pieces are rounded (I used an angle grinder with a sanding disc to do the job quickly) and the main holes are drilled. In few of the photos you can see one different kind of bracket that I'll finish later. In the third photo you can see the DIY studs I cut from round rod.
m_ak02944.jpg
m_ak02947.jpg
m_ak02948.jpg
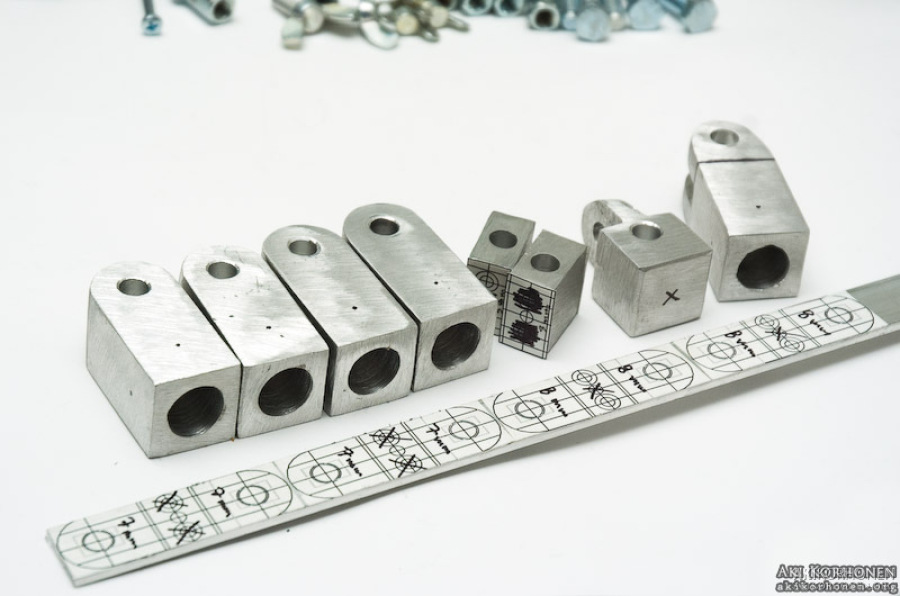
Parts ready to be drilled (the black dots here and there). I drew a cutting and drilling mask for the flat aluminum with SketchUp and printed it on a sticker paper and cut them in size and sticked them on the aluminum. The drawings on the paper are where not to drill and how big holes are for every part.
m_ak02958.jpg
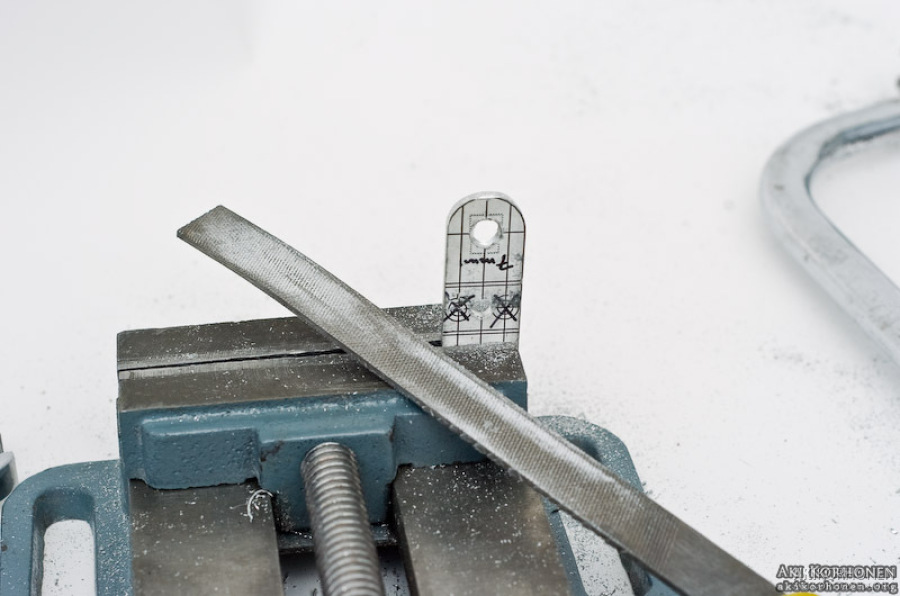
The holes are ready and the flat parts being filed to shape along the lines on the paper. This part actually didn"t take much time because the file was quite rough.
m_ak03118.jpg
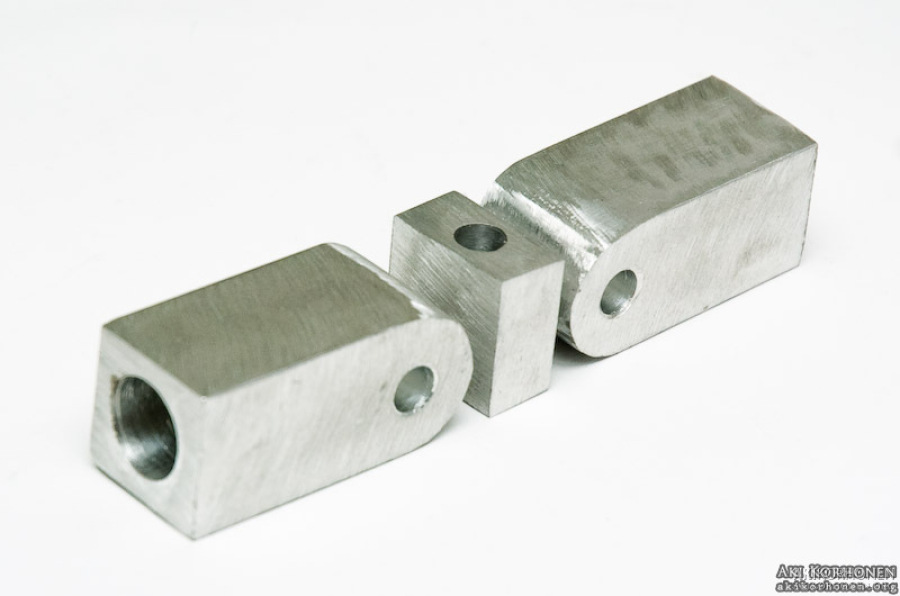
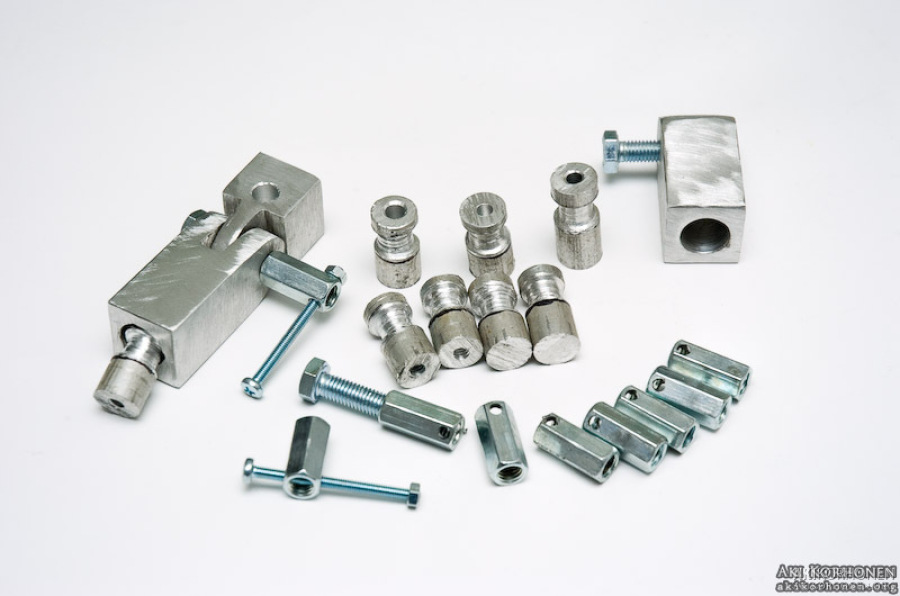
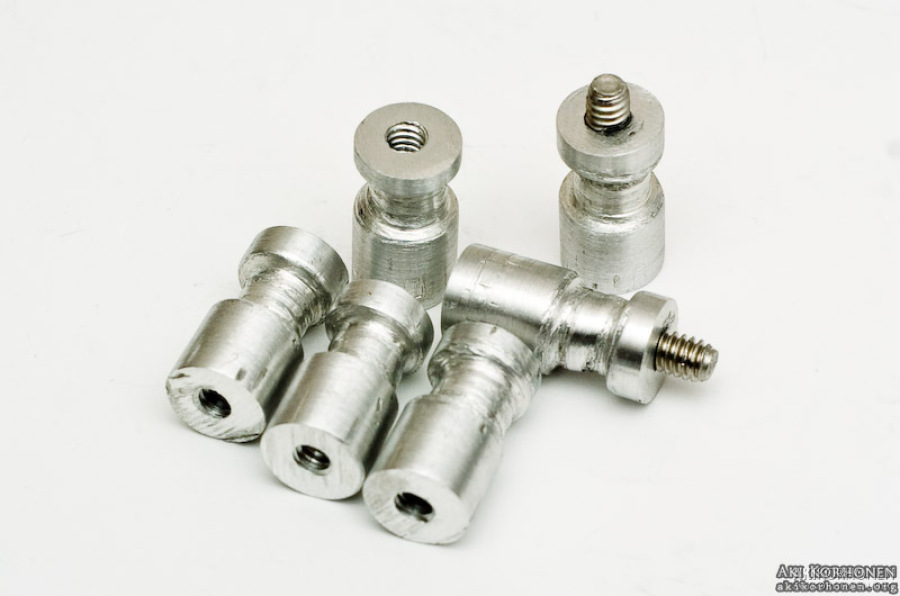
Parts ready to be assembled (one ready for comparison). On the right there are some of the studs I made. I made holes and threaded them, cut suitable thread pieces from 1/4" bolts and put some strong metal epoxy inside the holes and screwed the bolt pieces tightly in place. After the epoxy has dried the bolt pieces are strongly in place.
m_ak03122.jpg
m_ak03132.jpg
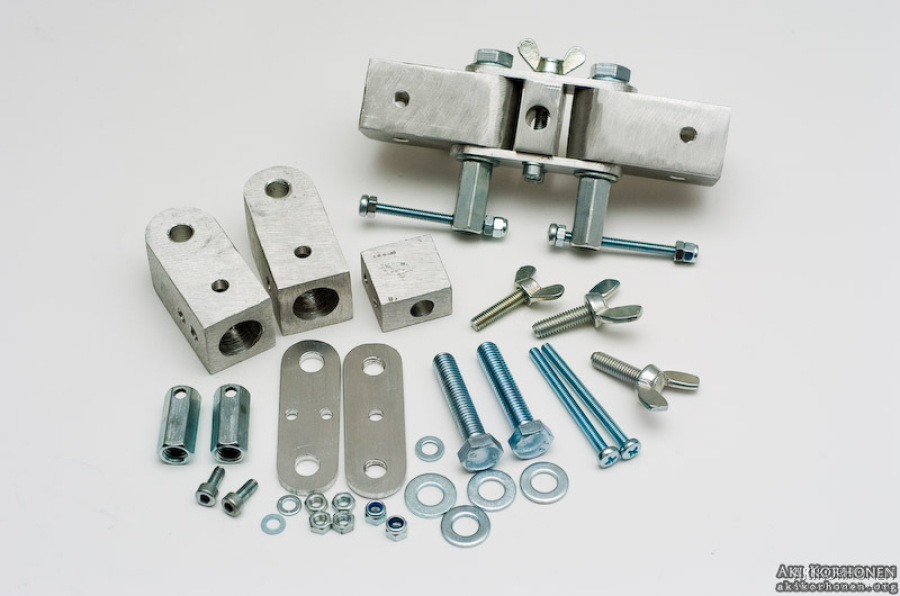
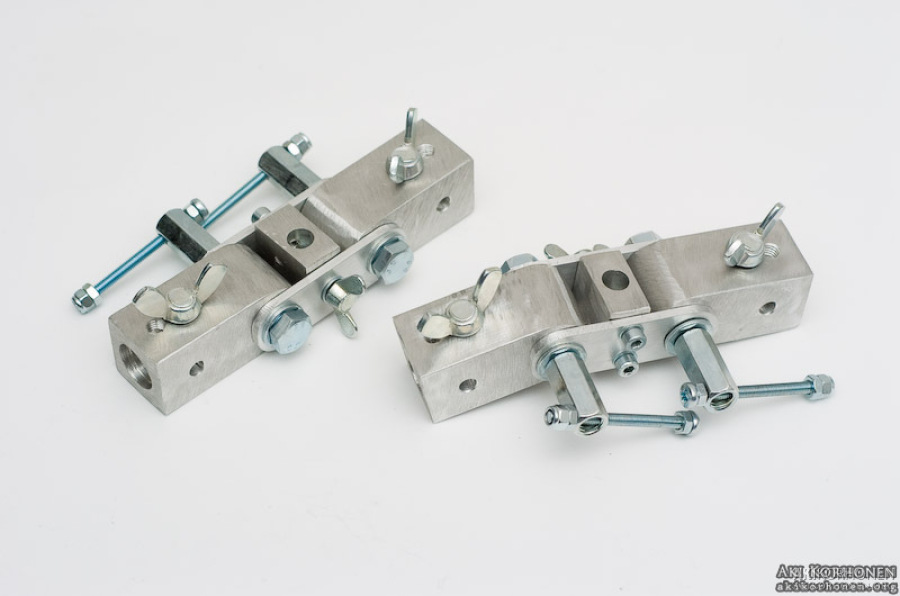
Two brackets assembled and ready to be used. Few things are still to be done; 16mm holes through the sides so the brackets can be connected to the stands sideways and to get a finished outlook the part need a black coat. I might try to anodize them and dye them black, it would give them a strong and nice surface.
m_ak03125.jpg
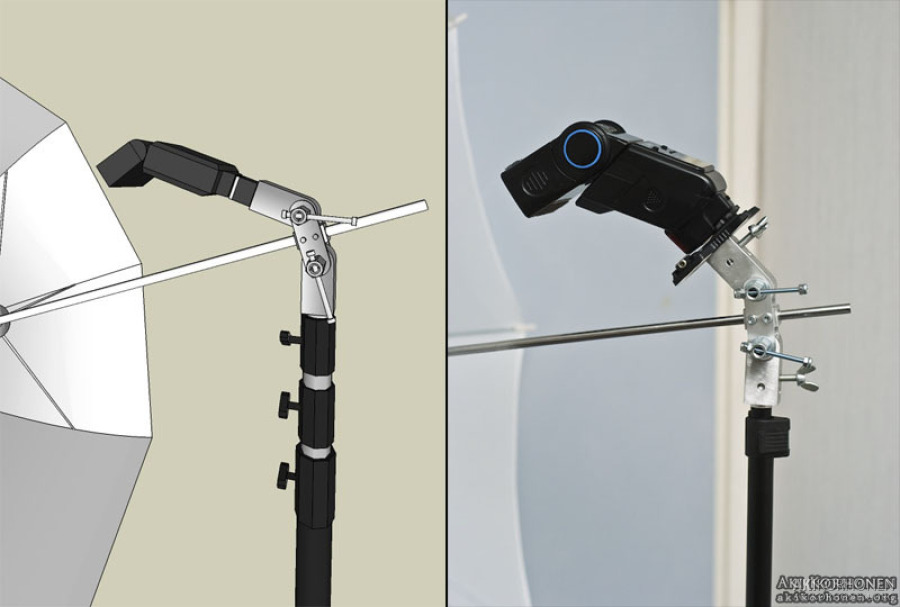
And last but not least, a comparison between 3D plan and reality. Came out quite nicely and works very well. Material cost for one bracket is maybe around 3-4€, not bad.
bracket_plan_vs_reality.jpg